Simple Rock Candy Synthesis Procedure
As the summer science camp series comes to an end, the excitement for learning doesn't have to stop! The Super Cool Science Experiments for Kids blog offers a plethora of science projects that can be conducted at home, all year round. One such project is the creation of rock candy, a sweet and educational experiment that teaches children about crystallization, solubility, and saturation.
To embark on this delightful journey, gather the essential materials: granulated sugar, water, clean glass jars, wooden skewers or sticks, clothespins, and a stove or kettle to boil water.
1. **Preparation of Sugar Solution** - Heat water and dissolve multiple cups of sugar in it to create a supersaturated sugar solution. It is crucial that the water is hot to dissolve as much sugar as possible. When cooled, the solution becomes supersaturated, meaning the water can no longer hold all the dissolved sugar.
2. **Setting up the Experiment** - Pour the warm supersaturated sugar solution into a clean jar. - Suspend a sugar-coated stick or skewer into the jar using a clothespin, ensuring it doesn't touch the bottom. The sugar crystals on the stick act as seed crystals where new crystals will start to form.
3. **Observation and Growth** - Place the jar in a cool, undisturbed place away from direct sunlight. - Within 2 to 4 hours, you can start seeing sugar crystals forming on the skewer. The crystal growth continues as sugar molecules from the solution attach to the seed crystals and to each other, forming visible crystals over several days.
4. **Scientific Explanation** - The water cools and can no longer keep all the sugar dissolved, so sugar molecules begin to crystallize out of the solution. The crystals grow larger as more sugar molecules join the crystal lattice on the skewer or string. This is a clear example of crystallization and solubility principles.
5. **Completion and Handling** - Once the rock candy reaches the desired size, gently remove it from the jar. - Let it dry for 1–2 hours to harden further.
This experiment not only teaches kids about crystallization but also concepts like solubility, saturation, and seed crystals in a fun, hands-on way. It can be made into a simple science fair project with questions about how temperature affects crystal growth or comparing different sugars.
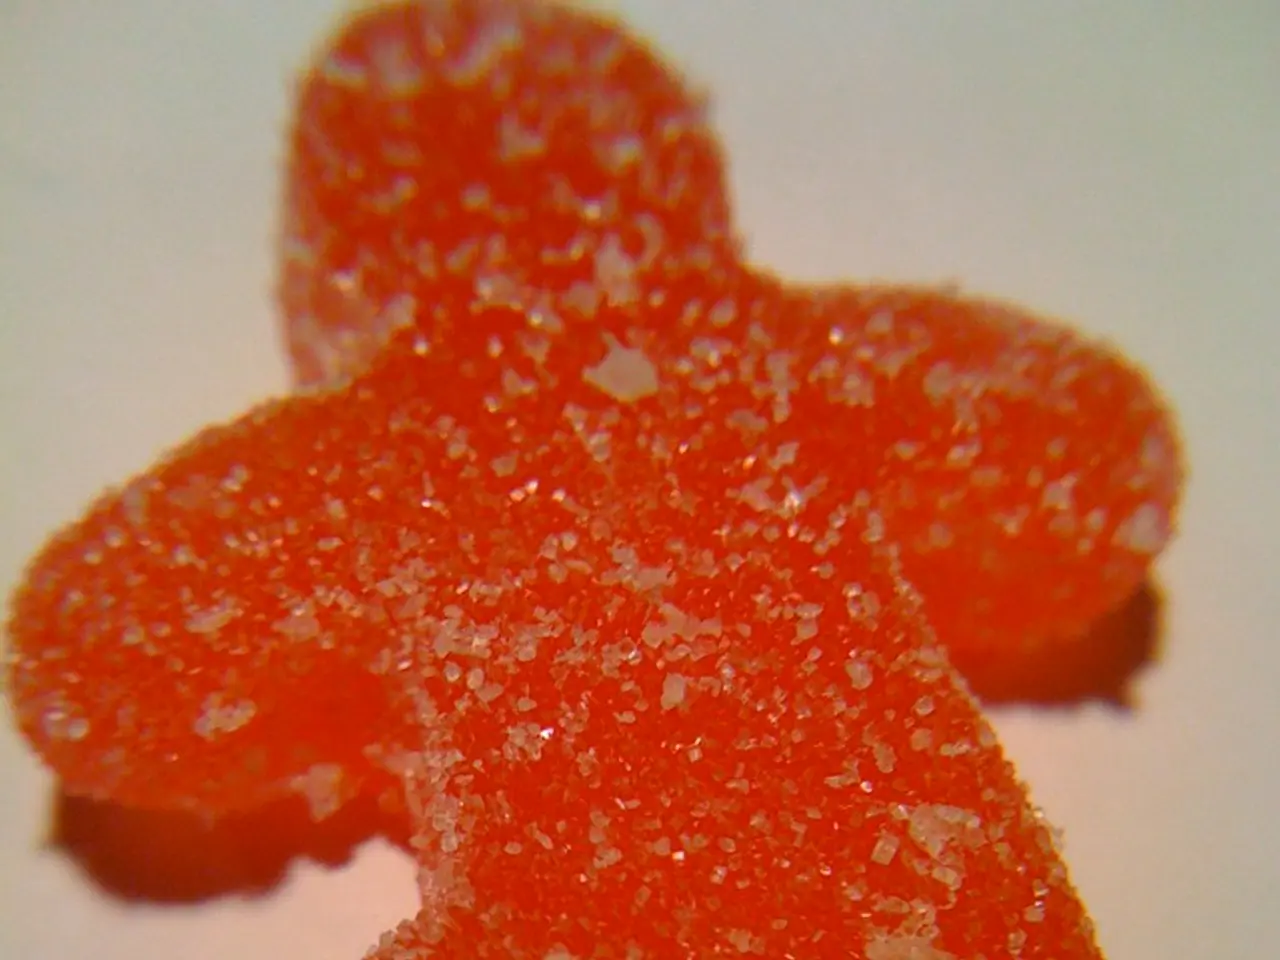
If the rock candy is being made for consumption, it is essential to change the sugar water periodically to prevent crystals from growing on the sides and to keep bugs out. Leaving rock candy in the solution for an extended period (up to 20 days) can result in larger crystals. Observations can be made as crystals form on the stick and the sides of the jar over a period of days. For an extra touch of colour, food colouring can be added to the sugar water.
By observing the gradual formation of sugar crystals on the skewer, kids can visually learn about the process of crystallization in an edible and engaging manner. So, why not give it a try and create your very own rock candy today? Happy experimenting!
Engaging in the creation of rock candy not only serves as a fun DIY project, but also offers an educational experience for children in the realm of science, specifically concepts related to crystallization, solubility, and saturation – all being essential aspects of education-and-self-development and learning. Science experiments like these, found on the Super Cool Science Experiments for Kids blog, are great resources for continuing your science education-and-self-development even after summer science camps come to an end.


